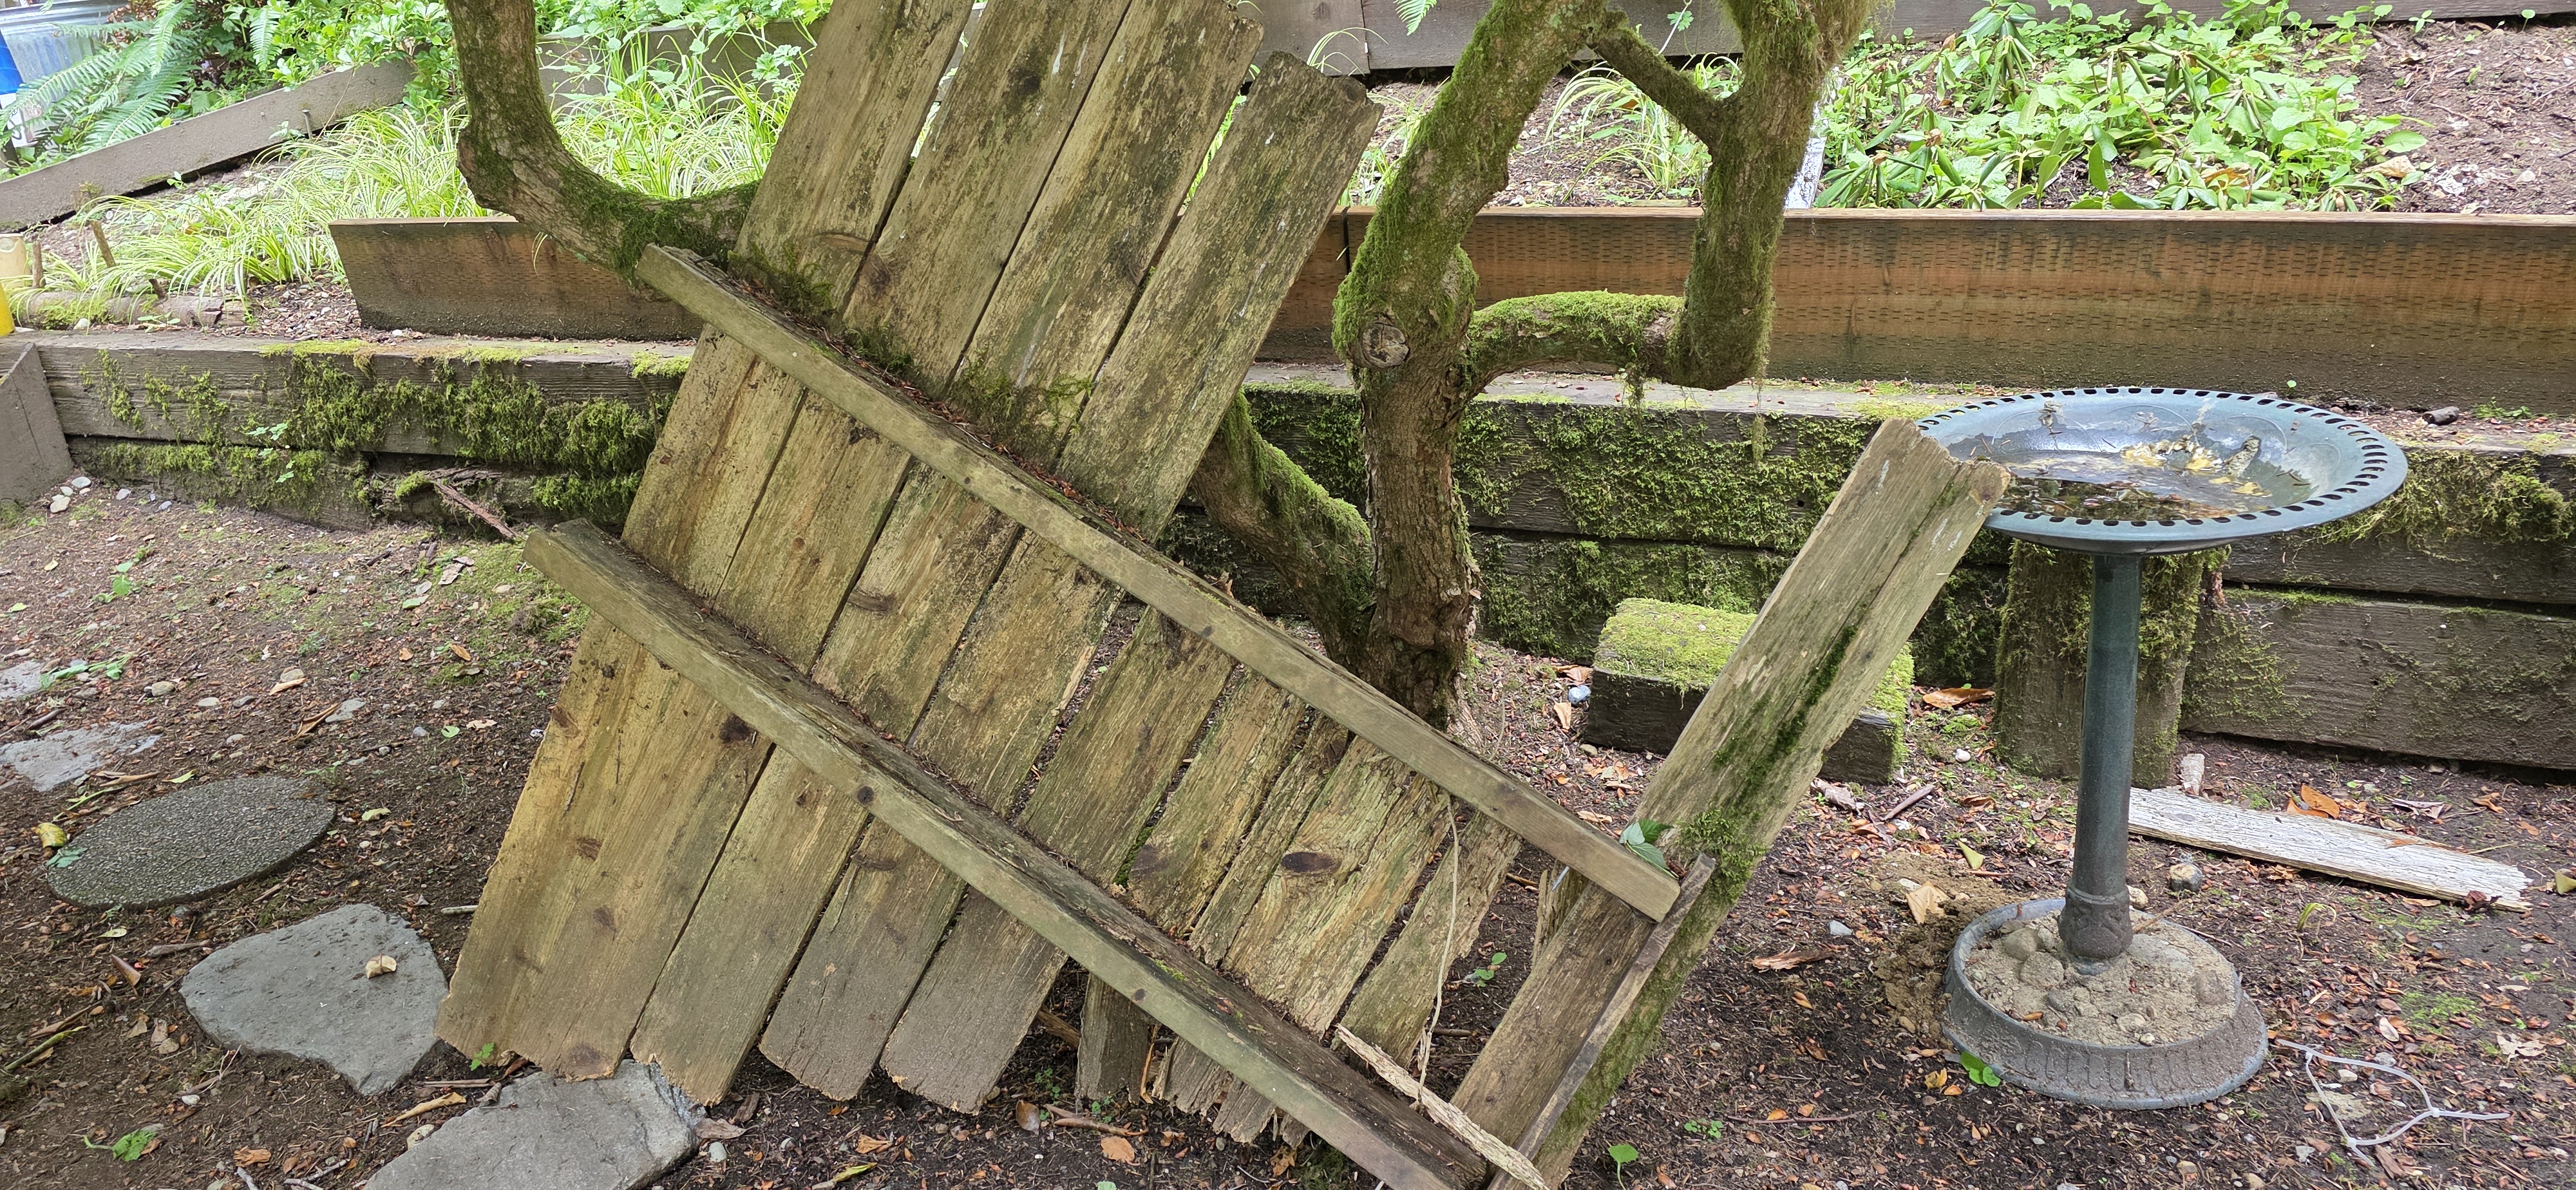
In the northwest, wood decays into the soil. Fence posts and entire fences biodegrade into the soil. I’ve seen this after just a couple of years in the ground. Pay a little more for pressure treated and the fence will last longer. Pay the extra, it’s worth it.

I have a fence on the side of the house that needs replacing. Portions have been replaced to my credit. but the more difficult part is found on the hillside. there it needs a new post which has to be placed in concrete so it can stand up strong. After the post is in place the horizontal pieces will need to be measured and cut. The horizontal pieces will go from post to post and the slats attached to them. Really easy work and I have the wood. but years have gone by.

Today, I decided to put the post in. This required hacking through summer vegetation that has covered a path I made years ago. Once the brush had been cleared I made it to the top and determined where the hole should be. I have a hole digger for just this purpose and it worked great. I dug just short of two feet and widened the hole to allow rocks. The rocks will for a base at the bottom and cling to the post from the sides. Rocks will also give the cement something to grab onto .
Once the hole was dug and rocks placed on the bottom I measured for the height of the post. I’ll use a 4″x4″ treated lumber for the post. This will replace the old untreated 2 by 4. I settled on exactly five feet for the post and cut it down from an eight foot length using my Miter saw.

When I went to put the post into place, my hand steadied myself using the old fence. It fell away like something being jettisoned. It was now officially retired. With the post in place, I was ready for the pour, the concrete pour. I use Quickrete and don’t pre-mix. I simply dump the powdery stuff into the hole. As a powder it will find its way around the rocks and into the critical places. I add water. then I add more rocks and small pieces of concrete I have around the house. Then I add the water again. Every few minutes I add water just to keep it most while the Quickrete hardens.

This concludes the first step. On another day when I get a fresh start I will measure and cut the horizontal 2″x4″s. I will place short 2″x4″ blocks onto the posts with the horizontal pieces resting on these. Then the slats which need to be measured and nailed into place. The slats must be placed uniformly so the nake eye can’t detect one being short or longer than another. One step at a time.
Leave a Reply